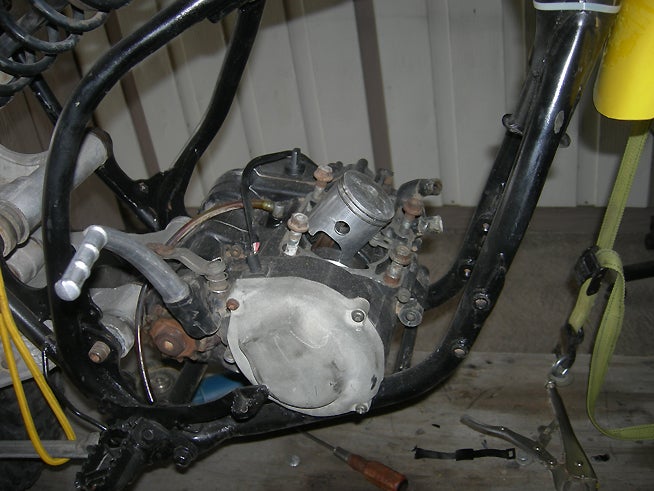
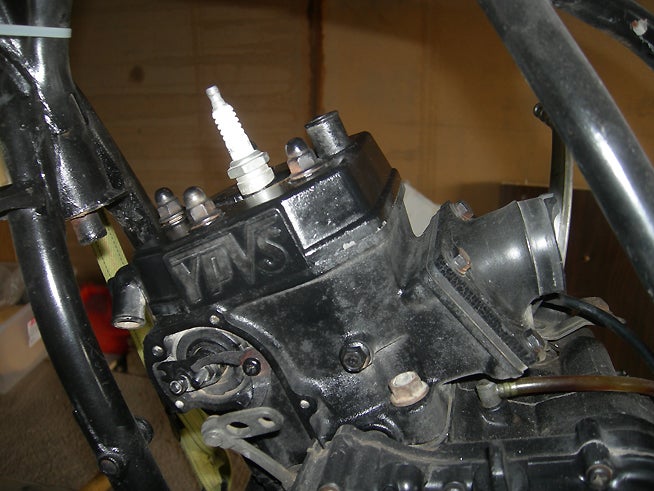
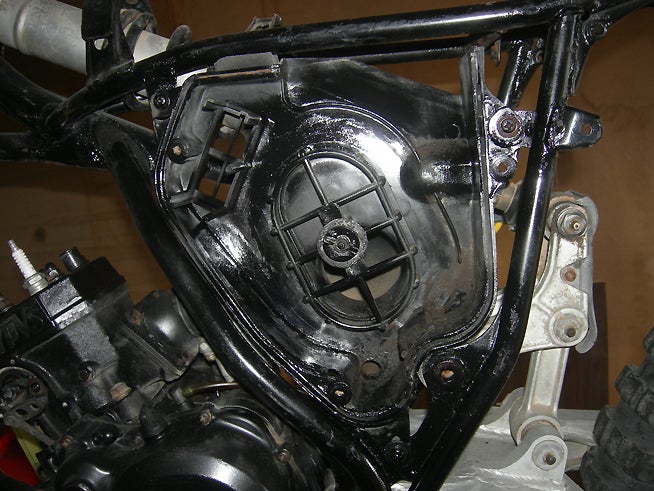
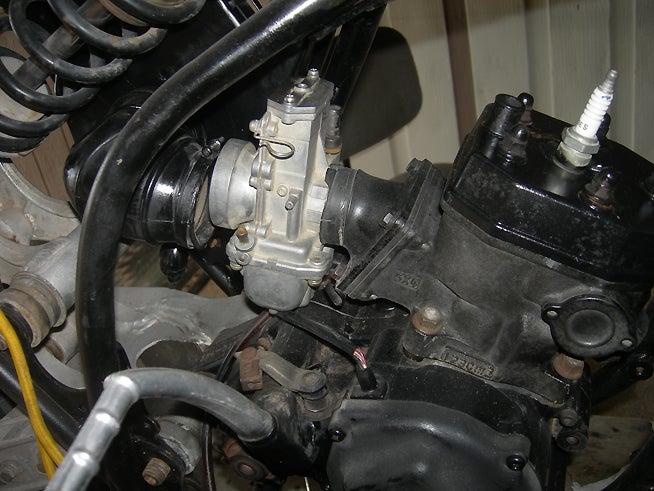
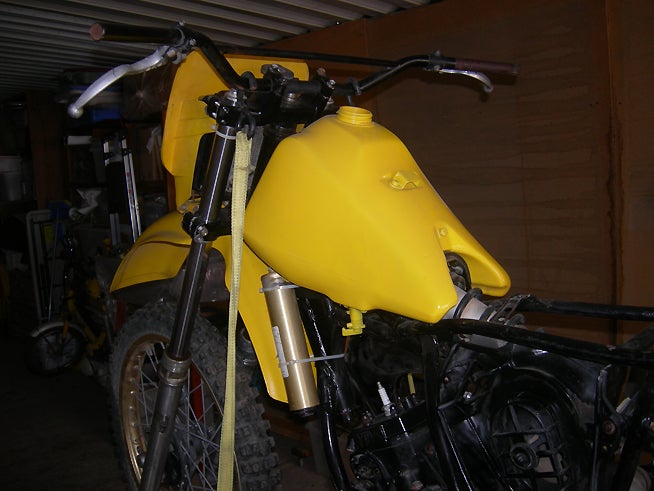
I finally got this particular Project Lowbucks completed and let me tell you, it was no picnic.
As I mentioned earlier, a whole lot of the little parts that were needed were not included with the project bike. It was my fault, and I certainly should have checked a lot closer before I bought it. But, I started a project and found out rather rapidly that I was spending a lot more money on all those little parts than I had planned.
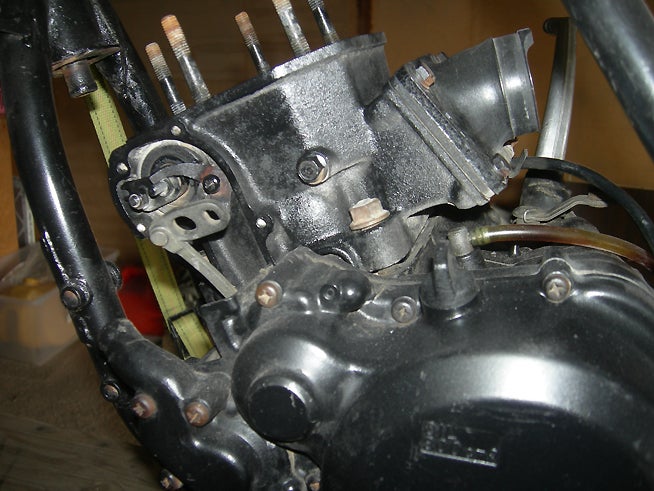
It also made what should have been fairly easy job, a miserable SOB! A simple thing like not having motor mount plates meant that I had to make a pair from scratch and it would turn a simple thing like assembling, into about a three hour fabrication job. So I’m going to warn you one last time, if you start a Project Lowbucks, make sure that as many of the small parts that you’re going to need are already in that crate. It’s one thing to pick up a piston and a set of rings, it’s another thing entirely to fabricate dozens of little pieces. And then you have the other thing that drives you nuts, and that is to go on eBay and buy those little pieces for money that adds up.
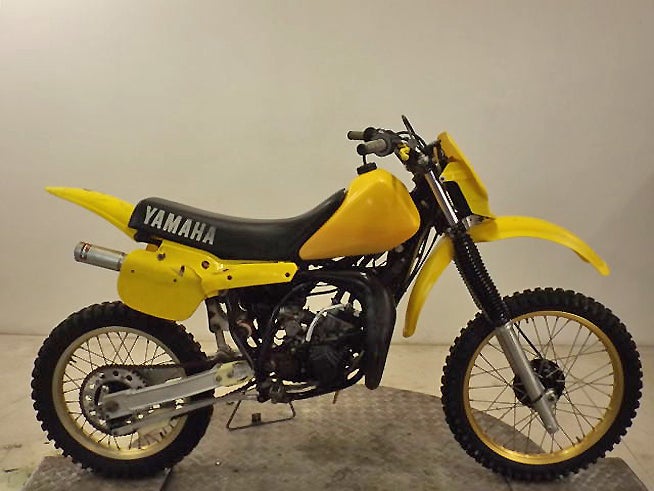
The whole concept behind Project Lowbucks is to buy a bike fairly cheap on Craigslist or some kind of a classified ad, and turn it into a decent running dirtbike for low bucks. Now we bought the 1982 Yamaha YZ125 for 130 bucks, which seemed like a real good deal at the time. But we had to add up a lot of money we spent to buy a pipe to pick up all kinds of little nuts and bolts; it didn’t seem like such a bargain at that point.
Anyway, in spite of all the hassles we got to this final point and want to share it with you.
In case you missed any installments on our Project Lowbucks 1982 Yamaha YZ125, you can hit the links below to see how the whole project came together:
Project Lowbucks: 1982 Yamaha YZ125, Part 1
Project Lowbucks: 1982 Yamaha YZ125, Part 2
Project Lowbucks: 1982 Yamaha YZ125, Part 3
Project Lowbucks: 1982 Yamaha YZ125, Part 4
Project Lowbucks: 1982 Yamaha YZ125, Part 5
Project Lowbucks: 1982 Yamaha YZ125, Part 6
 Your Privacy Choices