
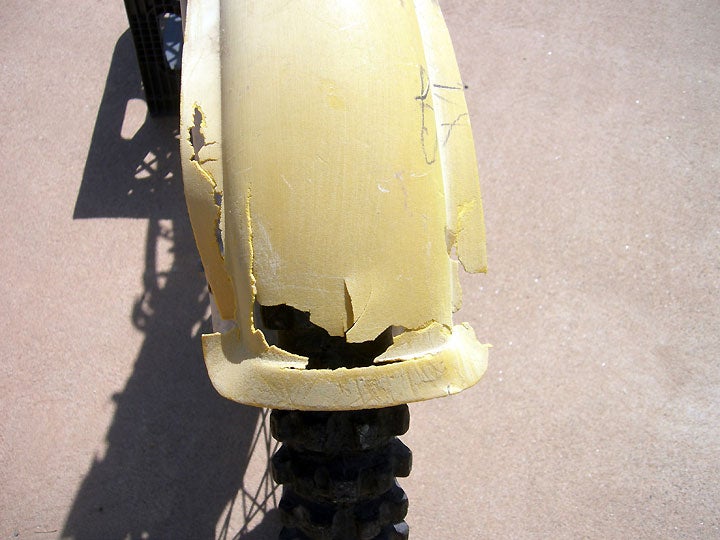
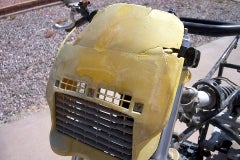
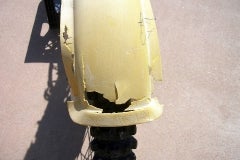
Unlike other Project Lowbucks that we’ve done, our 1982 Yamaha YZ125 project bike was not a filthy bucket. All things considered, it was fairly clean; however a lot of stuff on the bike was pure trash. Example: the plastic in many of the areas of the bike is falling apart. Not just a crack here and there, but literally falling apart pieces that simply cannot be used again, no matter how much work we do.
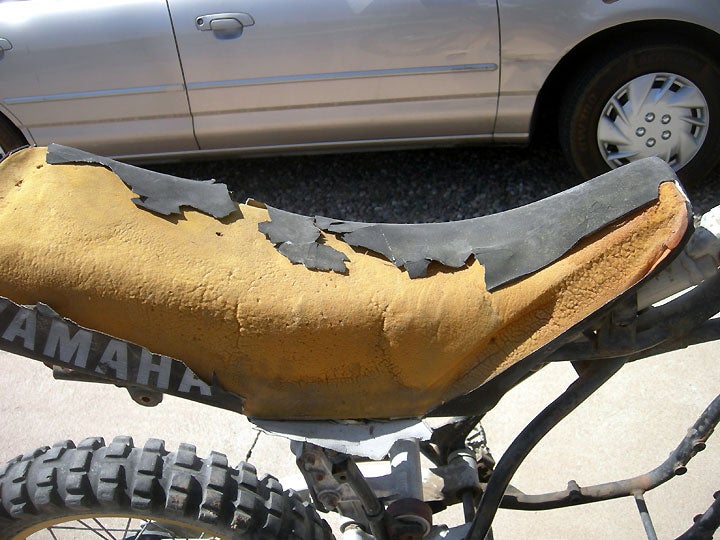
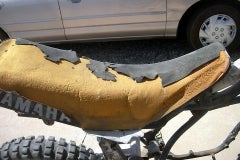
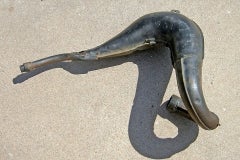
The saddle cover, if you could call it that, is solely beyond repair. Luckily the foam is in pretty good shape as is the seat pan itself. Which brings us to we really had to work with; the rest of the bike.
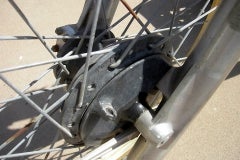
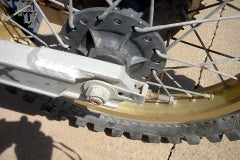
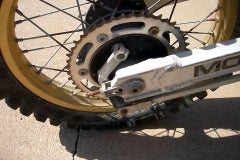
When a lot of people do a so-called rebuild on a bike, they don’t really go all the way. Just because the frame and wheels are fairly clean didn’t mean they are all ready to go. You really can’t tell if something is damaged until you take it apart. For example, taking the axles out of the wheels can reveal much more than worn brakes. If the axles themselves are rusty, or have grooves in them, this will reveal much more in the way of potentially serious problems.
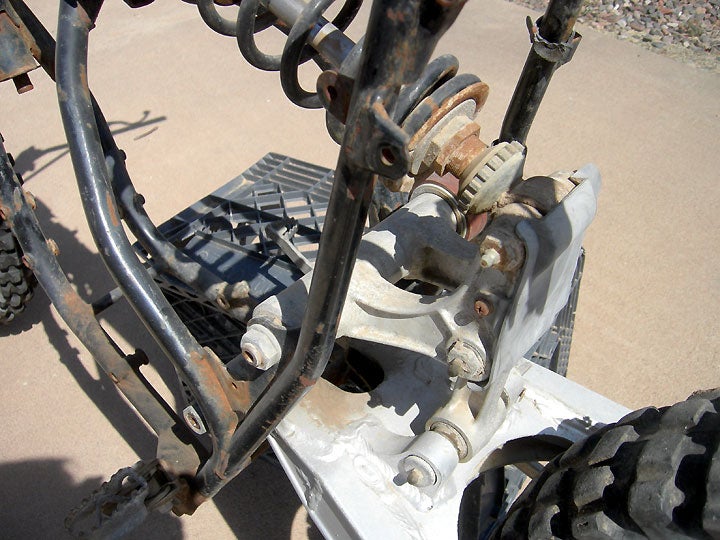
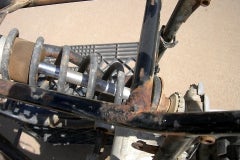
Taking apart the rear suspension is absolutely critical to any sort of rebuild. There is this tendency to just leave things bolted in place and hopefully everything will be good. Nope. Take the stuff apart, clean it up real good, and if nothing else put a little bit of grease on the pivoting joint. This is the time to do it, not later on when things start grinding from being all dry and metal on metal.
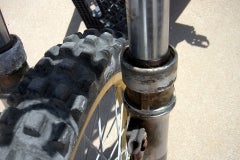
Little things that people never even think about are the kinds of things that give you problems later on. For example, your forks might look good and there are no scratches or gouges in them, but what if you have dried up dirt and oil on the lips of the seals? This shows you that at minimum you’re going to have to install new seals all the way around. Luckily, our bike had no rust on the fork tubes, they were all clean and shiny and seals looked intact. Count this as one lucky start on a rebuild.
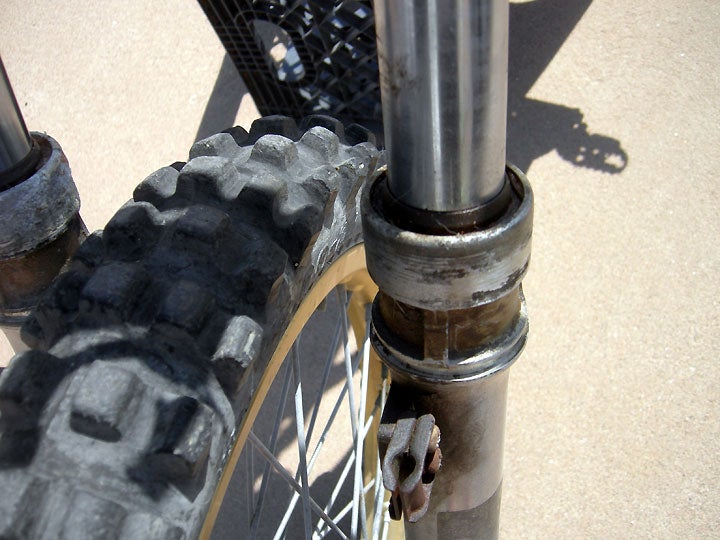
Once you have the front wheel off the bike, now is the time to move the forks in the full range of movement from right to left and check to see if any thing hangs up or clicks. Make sure that the motion is smooth and count that as another plus. Move the forks up and down in the triple clamps and make sure there is no slop in the steering head bearings. Of course, you’ll check them carefully later, but now’s the time to get a head start on what could be wrong.
While you’re disassembling everything, take the time to put the nuts and bolts in a bag or box for each area you’re working on; when it comes time to put everything back together, the last thing you need to do is search through 100 bolts for the fastener that you need. Clean all the nuts and bolts carefully, making sure the threads are not rusty or bent out of shape. It makes a big difference if you do this right.
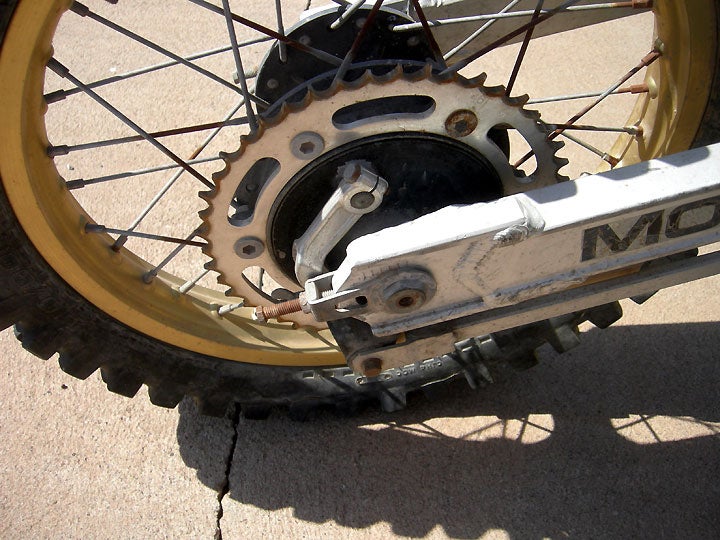
Pay particular attention to the rear wheel. At this point, it would be a good idea to make a little note on where the spacers and the various tabs and brackets go. Naturally, you can save time by using your cell phone and taking pictures from different angles. I can’t tell you the number of times that I’ve wished I had done this before, instead of after.
The motor was all apart on our particular bike, so we decided to make use of time to make sure that the bearings were all okay. How so? Easy, we just sprayed some WD-40 quite liberally down in the cases and made sure the bearings were coated. Then we let it sit for a few days giving more coats of the WD-40 each day. Every day, we rotated the rod to make sure that the bottom and was nice and smooth. If you have a problem at this point, it’s going to mean you will have to split the cases to correct it, and that is a major.
Another thing that you might consider doing at this point, is taking the carb off and setting it in a bucket of cleaner for several days. The carb will come out looking like brand new. Naturally, the carb will have to be gone through completely to make sure all the jets are free and clear.
So basically Part One will consist of you cleaning the bike properly, taking things apart, inspecting all those things that you have taken apart, making notes that you’re going to have to do later on, and crossing your fingers that you won’t find anything outrageous in the process.
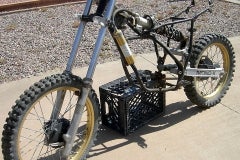
As you can see, we’ve got a long way to go before our project YZ will actually see some track time, but we’re off to a good start. Check back next month for part three of our Project Lowbucks series, where we will actually make some real progress on restoring this ol’ mount to her former glory.


 Your Privacy Choices