Our Project Lowbucks 1982 Yamaha YZ125 has largely been a nightmare due to a serious lack of available replacement parts.
In part six of our project Yamaha, we gave you dire warnings about starting a project bike that had been beat on with a hammer.
In previous parts of our Project Lowbucks series, we told you that two of the most important things you can look for when choosing a project bike are parts availability and to make sure that most of the important parts of the bikes are there before you start. You don’t want to spend all of your time looking for air boxes, bolts, wires and attachments.
Well, we blew it with this particular bike. So let this be serious warning number two. Make sure that you’ve got a bunch of the little parts you’ll be trying to find later on. As we got deeper into this project, we simply could not find things like motor mount plates, various nuts and bolts, and all sorts of attachments.
An incredible amount of time was wasted going to Ace hardware to get the right size metric bolt for the job. Yes, I have a great number of nuts and bolts in stock, but after spending seemingly endless hours going through my supply, I couldn’t find what I needed. And don’t think it’s going to be cheap just because it’s a simple bolt. A fastener that held the front of the shock onto the frame cost almost four bucks with the nut. Multiply that times a dozen trips to the hardware store and you suddenly find out it’s not so cheap after all.
So let this be a deadly serious warning to you; make sure the pile of parts you have there is mostly complete before you buy it for a project. Doing a thing like a project bike can be a lot of fun, or it can be a real nightmare, which is where we’re at right now.
Anyway, enough rantings and ravings let’s get to part seven of this cursed project.
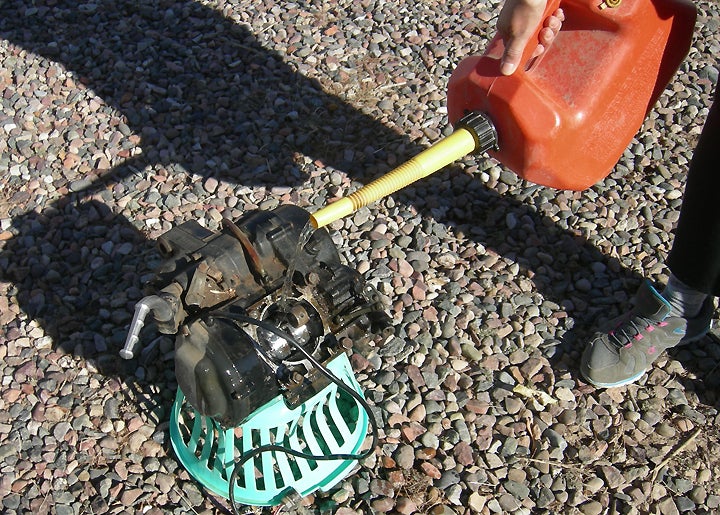
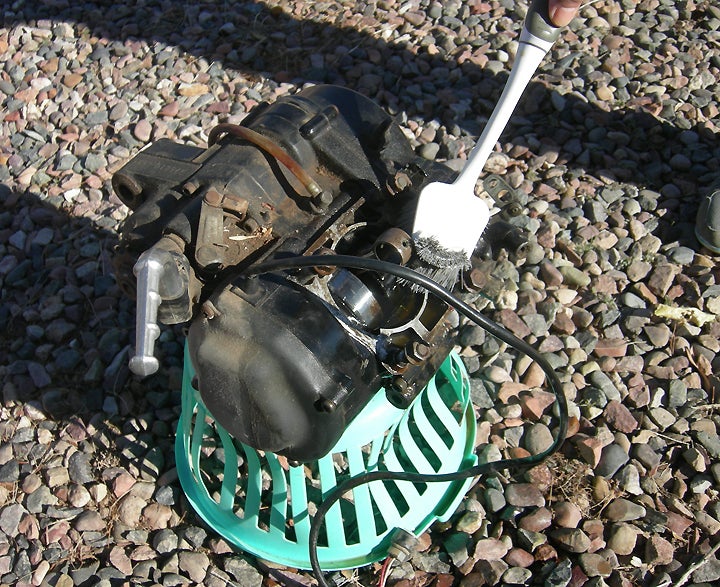
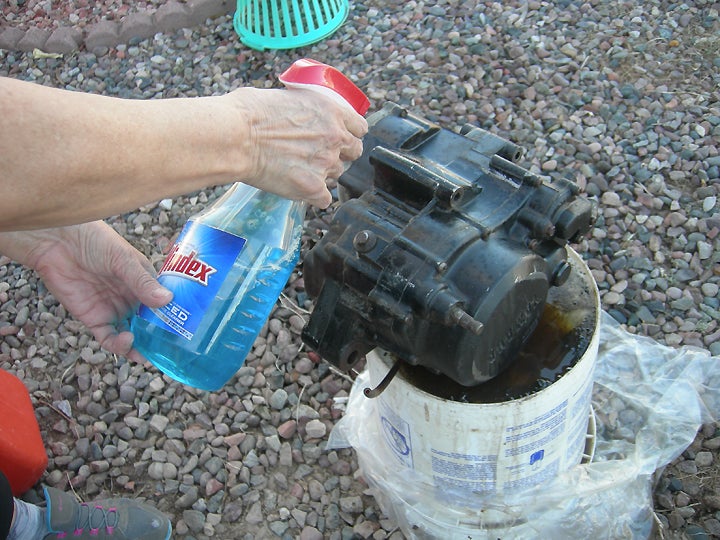
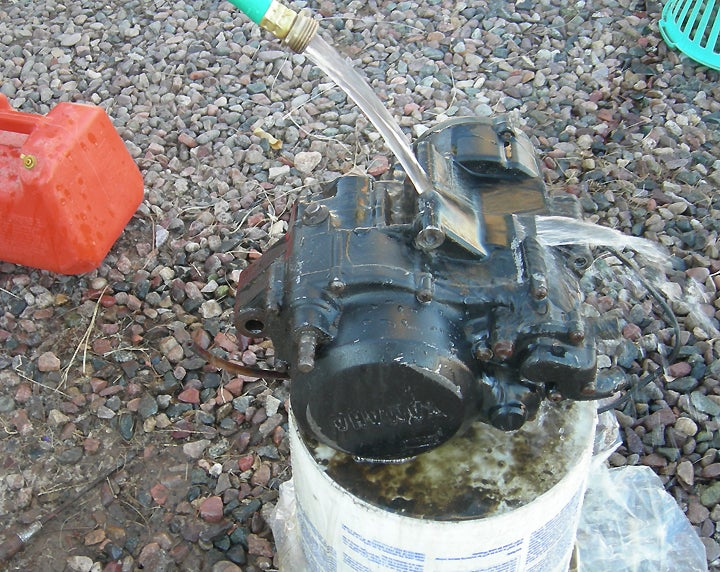
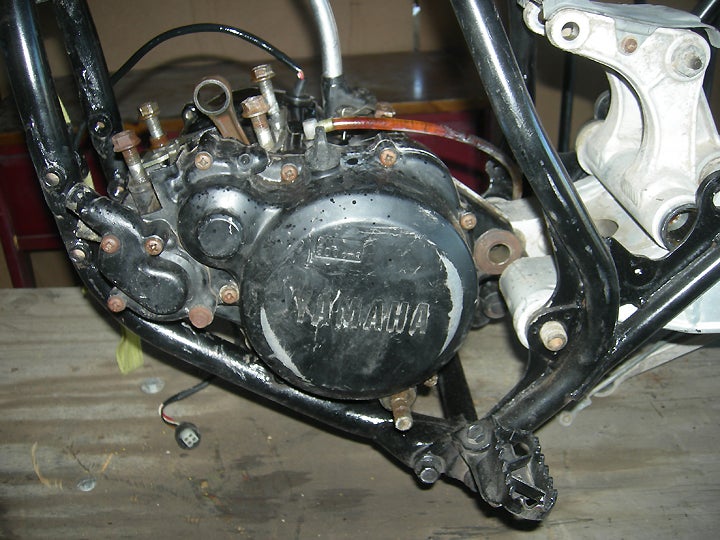
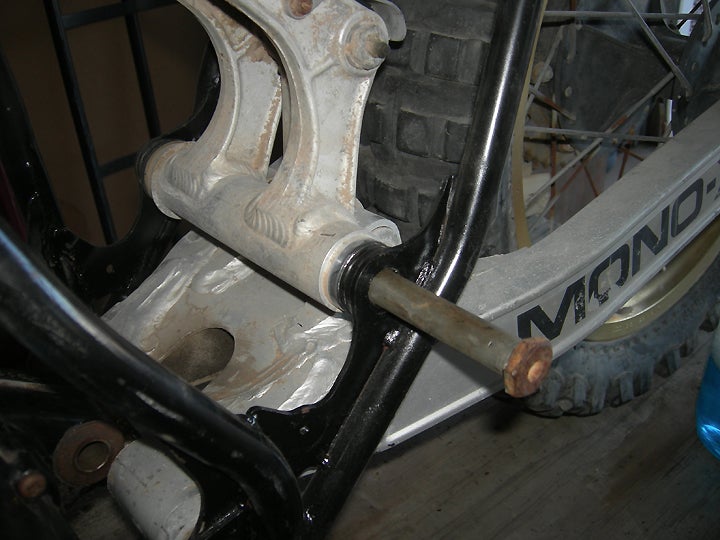
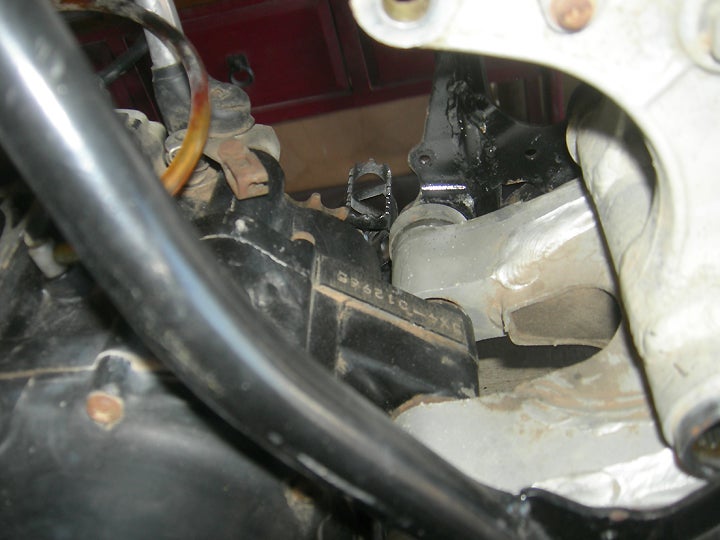
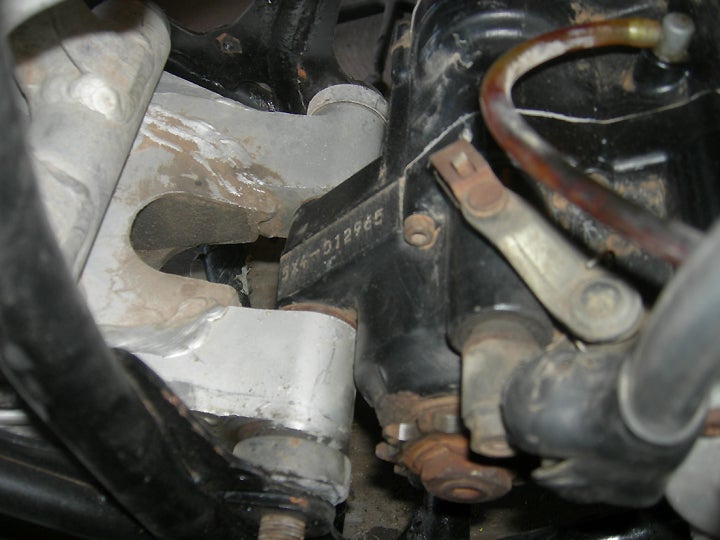
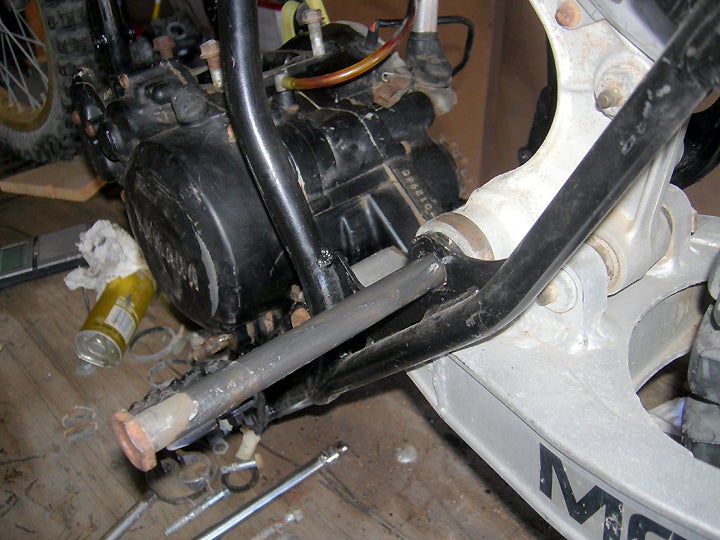
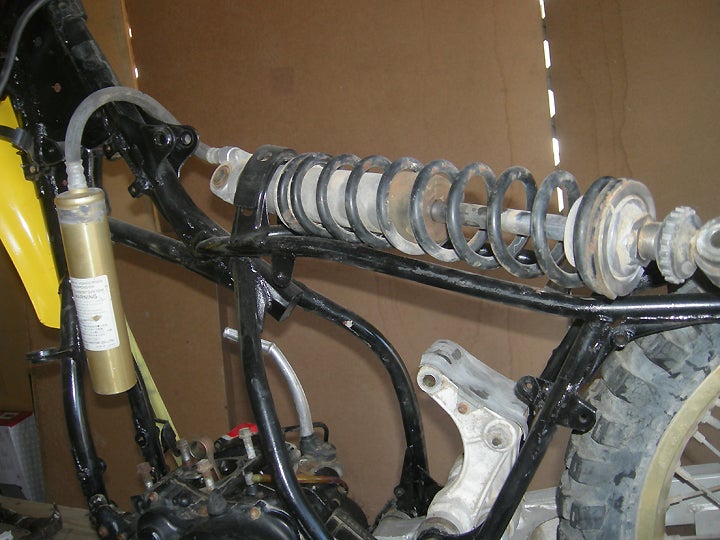
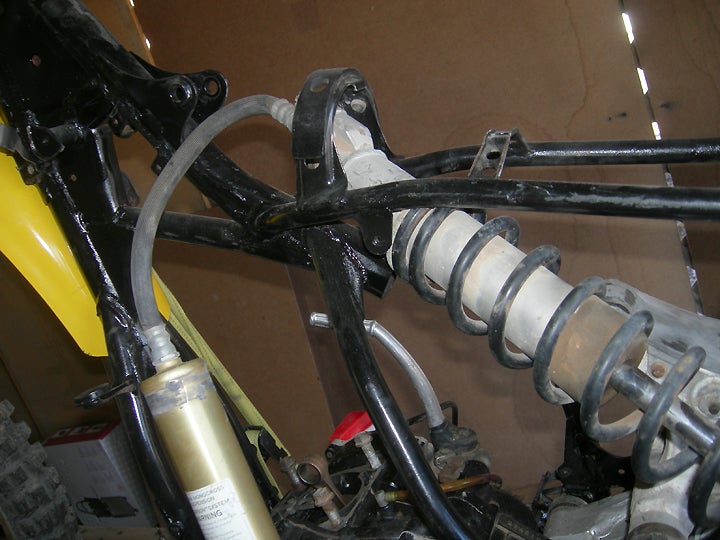
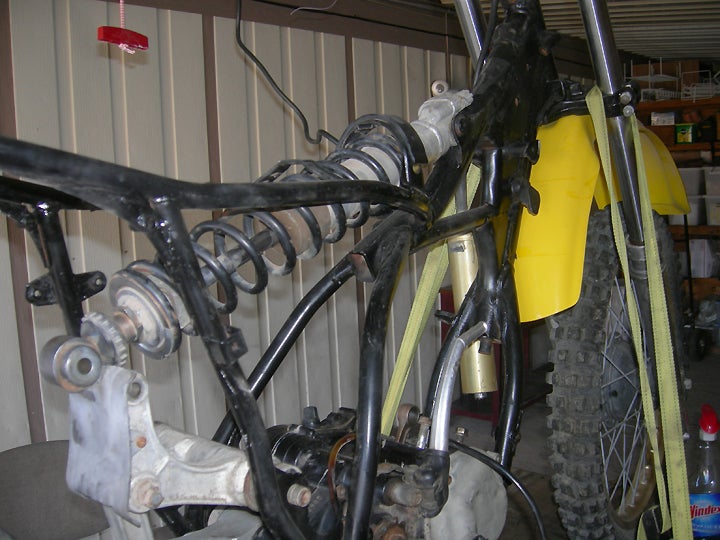
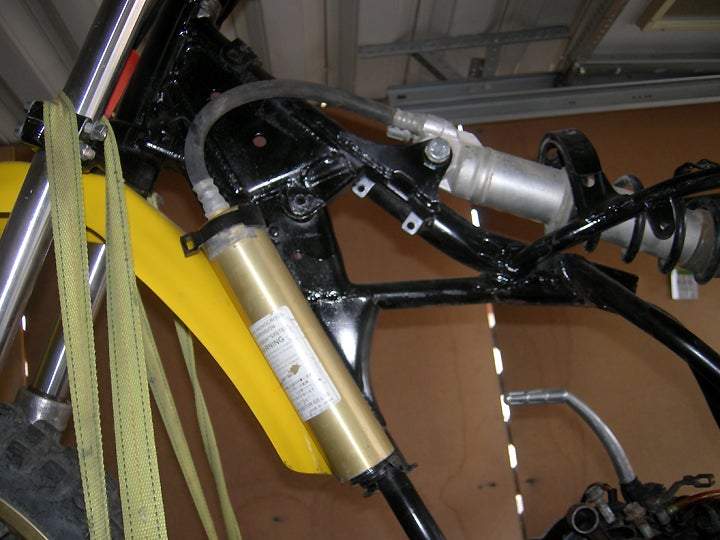
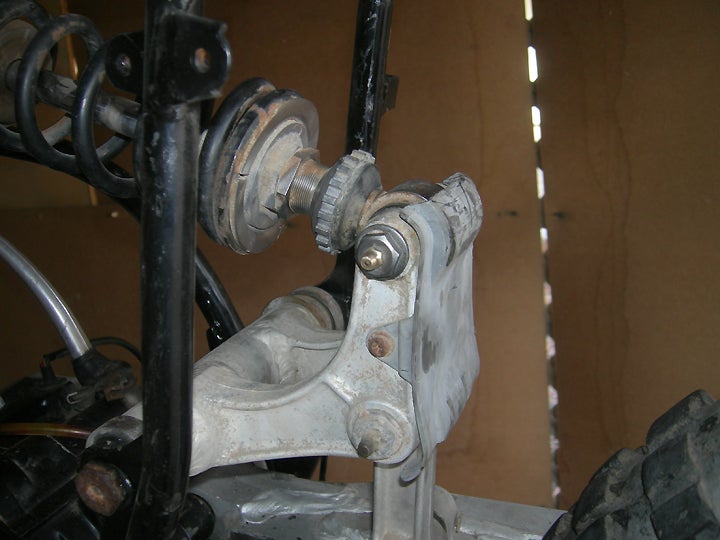
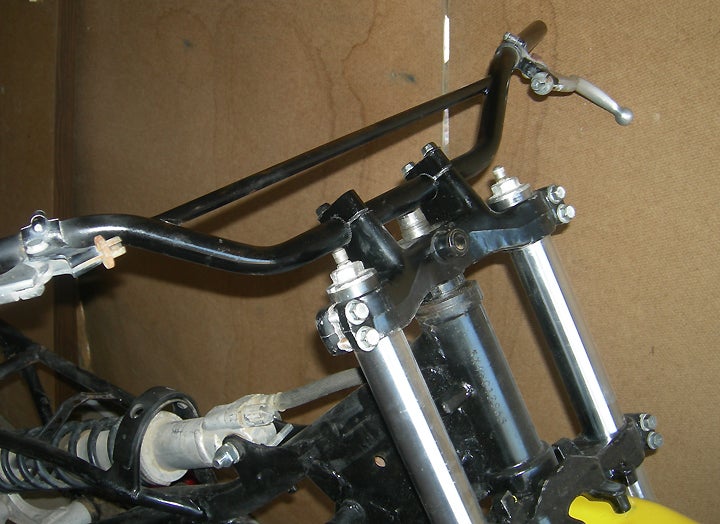
In order to get all that junk and crud off the motor, we started by pouring a bunch of old gas over everything. Some heavy-duty scrubbing with a good brush really helped.With most of the serious crud off the engine, some good old Windex was liberally sprayed on it.After the Windex was applied and let soak for a long time, the engine was sprayed clean with water. We made sure that no water was left in the engine cases and sprayed a bit of penetrating oil on the bearings to play it safe.Here’s the complete motor ready for installation into the frame.The swingarm was now installed. The through bolt was lightly greased before installation. Failure to put the grease on it will cause you problems downstream.Next, the main mount in the back of the engine got attached with a bolt through the forward part of the swingarm section. Again, greasing that bolt is critical.Make sure those metal dust caps are on both ends of that through bolt.Just another reminder that all those through bolts must be properly greased. We found that wheel bearing grease does the best job.Next, the shock should be placed over the mounting brackets. Don’t even try to do it this way. There is no way it will squeeze through the frame and the tabs.The shock must go through the lower part of the frame.You’re going to have to put a small jack under the engine in order to raise up the swingarm to get the holes lined up properly.As you can see, the shock will fit in where it’s supposed to go once this is done.The shock is now properly lined up and in the correct position for the mounts.Front mount complete.Rear mount in place. Make sure that both of these bolts are greased as with the swingarm mounting bolts.At this point we gave a little black spray paint to the handlebars and mounted them so we could move the bike around easier.
We use cookies to improve your experience on this website and so that ads you see online can be tailored to your online browsing interests. We use data about you for a number of purposes explained in the links below. By continuing to browse our site you agree to our use of data and cookies. Tell me more | Cookie Preferences


 Your Privacy Choices