Normally, we tend to associate activities related to motorcycling with feelings of excitement, liberation and discovery, but brace yourself, for we are about to enter a true Twilight Zone topic where the exact opposite is true, a world so diametrically opposed to what you’re used to experiencing with your bike that you’ll be tempted to run screaming in the other direction–any other direction.
But don’t panic. With knowledge in the black art of spoke tuning, you’ll be able to go where few dare to tread, with nothing worse than a little tedium to endure. Just put on some good music and treat it as a meditation on the wonders of geometry.
First, you need a wheel with spokes, the old-fashioned kind found on the overwhelming majority of dirtbikes. Since you have them, you need to know how to maintain them, so it is advantageous to know the basics of lacing and truing as illustrated with a dirtbike wheel. Second, you need a way to get your bike up off the ground, at least one end at a time. If you’re changing components, the wheels obviously must be removed. But if you’re just giving your wheels a tune-up, they can stay on the bike. Third, you’ve got to have some way of measuring very small deviations in the radial and lateral movement of a turning rim. Professional truing stands allow for rotation of a wheel’s hub in a fixed plane, and include an adjustable armature for mounting a runout gauge or for using as a static indicator all by itself. However, these tools are rather expensive (from around $200 to upwards of $600); you can probably improvise something adequate for a whole lot less.
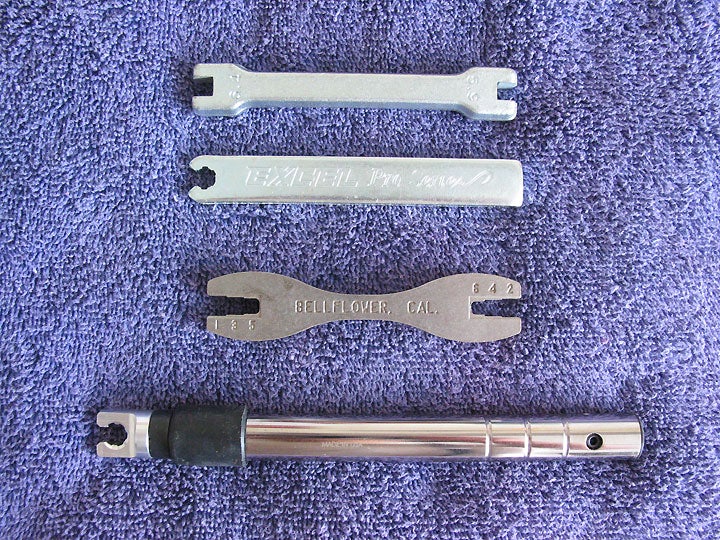
A fourth necessity, one that isn’t expensive, is a quality spoke wrench. Right off the bat, you should throw out that pot-metal piece of junk that came in your bike’s tool kit because it’ll do more harm than good. The spoke nipples you’ll be twisting are probably made of soft, easily deformed aluminum, and/or they may resist turning due to corrosion or excessive tension. Either way, a precise match between the wrench and nipple is absolutely necessary to avoid rounding off and ruining the nipple’s corners, or squeezing it against the spoke threads. You can pick up a much better fitting version at your local shop for under 10 bucks.
Finally, because the procedures involved are extremely repetitious, use tiny increments of adjustment, and require a meticulously systematic approach, you will need above-average patience and a setting in which you can concentrate for an extended period of time.
Starting from Scratch
If you’re replacing your hub, spokes and/or rim without altering the design, you should begin by studying your wheel’s layout before taking anything apart. Are all the spokes identical, or are some shaped differently where they enter the hub? Notice how the spokes leave the hub in different directions; which row of hub holes points its spokes clockwise, and which counter-clockwise? Once you begin removing spokes, immediately check to see if they’re all the same length; they may be shorter on one side of the hub and longer on the other, and/or they may alternate short/long based on their distance from the hub’s edge. Look to see where the spokes cross one another, and how many make up a repeating pattern (the most common arrangement is a sequence of four, comprised of one inner and one outer from each hub flange).
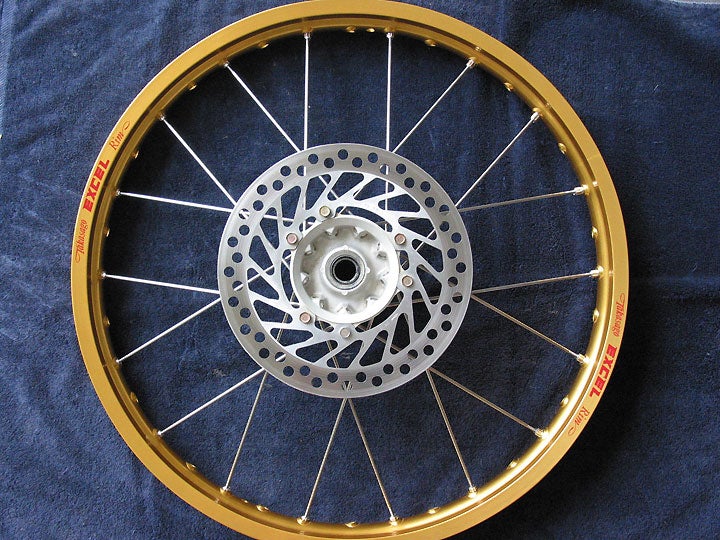
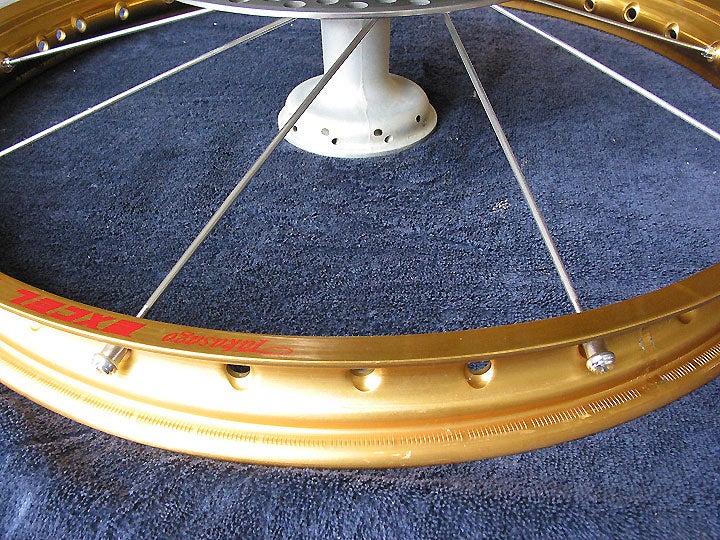
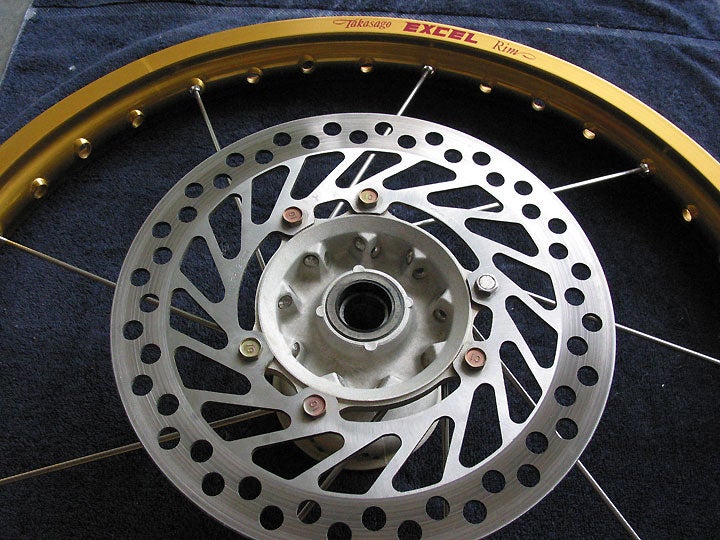
In the example shown, we’re keeping the stock hub, and installing aftermarket stainless steel spokes and an aluminum alloy rim, all made by Excel. The goal was increased strength, so the replacement pieces are sturdier than stock (the weight difference in this particular application is negligible). You can’t appreciate it in black-and-white photos, but the new rim is also flashier, with a deep gold anodized finish. We chose Excel’s “spline drive” nipples, which provide a vastly superior mating surface for wrenching than conventional square nipples, and they’re made from steel instead of aluminum.
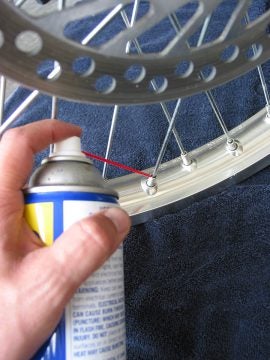
The trickiest part is getting everything in place. (The rest of the process is easy, though boring.) Lay your hub flat in the center of the rim. Hubs with large offsets may require special measures, such as setting the rim on a couple two-by-fours in order to get its centerline at the midpoint between the two hub flanges. You’ll be lacing one hub flange completely before turning everything over. Thread the first spoke through its hole in the hub, and then insert its threaded end into the rim, taking care to chose a hole angled upward (toward the side of the hub you’re currently working on). If you’re working on a very fancy wheel, the rim for which has holes cut at more than two angles (left and right), you’ll need to make sure that the spoke’s entry angle matches the rim hole’s angle precisely. (You can check this by simply inserting a pencil through the hole and confirming that the spoke lines up with it.) Now, after putting a drop of lubricant on the threads to inhibit corrosion, screw a nipple onto the spoke tip–but only a couple turns. This keeps the spoke from falling back out of the rim, but leaves you maximum room to push the rim away from the hub in other directions to give subsequent spokes the clearance they need for easy insertion.
On the wheel shown, we found it worked best to do all the outer spokes (those furthest from the axial centerline) first, and then insert the inner ones. This may be different on your wheel, depending upon the spoke pattern and clearances. You may have discerned the easiest sequence during the disassembly process, or you may have to do some trial-and-error testing at this stage. The main point here is that you should not have to struggle to get all the spokes in place. If you find yourself tempted to force a spoke into position by bowing it or its neighbor, there’s almost certainly a better way to proceed. Remove a few and try a different order. Be sure to leave the correct number of holes on the wheel open between spokes as you insert them.
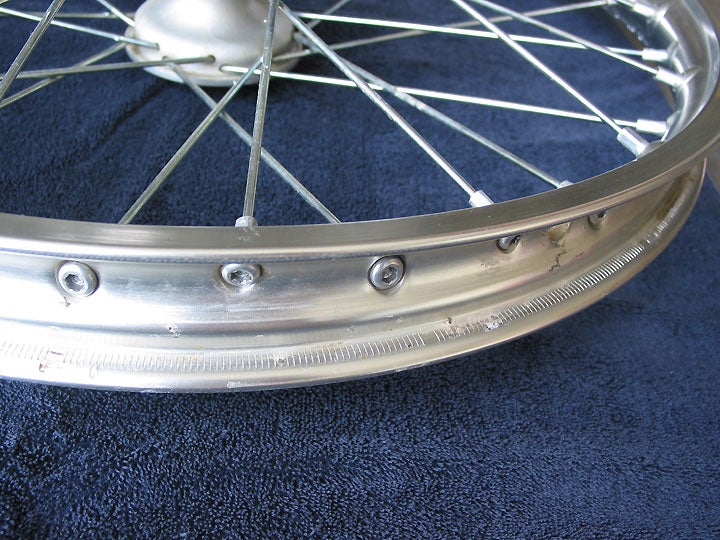
Once all the spokes are in place on one hub flange, turn the wheel over and repeat the process on the other side. When you complete this phase of the job, give yourself a pat on the back; the (relatively) hard part is over. You now have a floppy, jangly thing with a roughly circular shape that will soon become an amazingly sturdy and geometrically precise piece of hardware.
 Your Privacy Choices