In part two of our Project Lowbucks series, we did a rough check on everything we had. Now it’s time to take the critical things apart and check them carefully. You want to check all these critical areas now, rather than later on when the bike is completely together. One handy bit of information: When you take all the parts off, put them in a box of some sort so you don’t have to look for things later on. And you might also put nuts and bolts in little plastic bags and label them so when you start to put the bike back together, you don’t have to hunt like a crazy person. So let’s start, shall we?
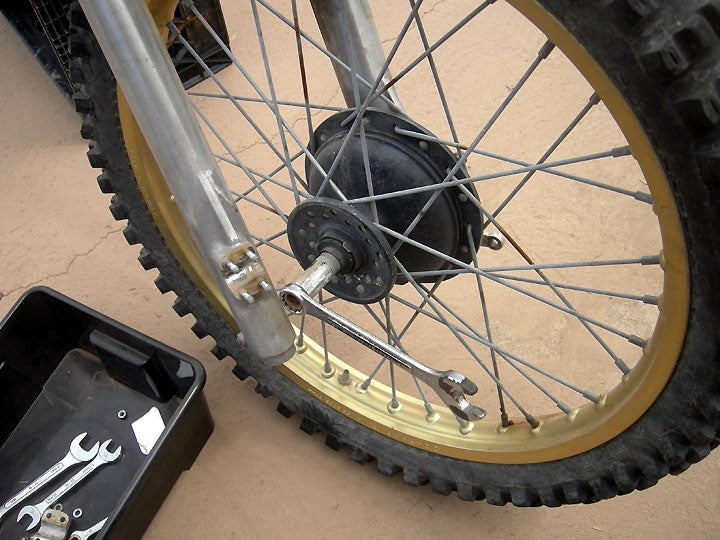
Remove the front wheel completely by undoing the axle. This is a good time to check the spokes and a wheel itself.
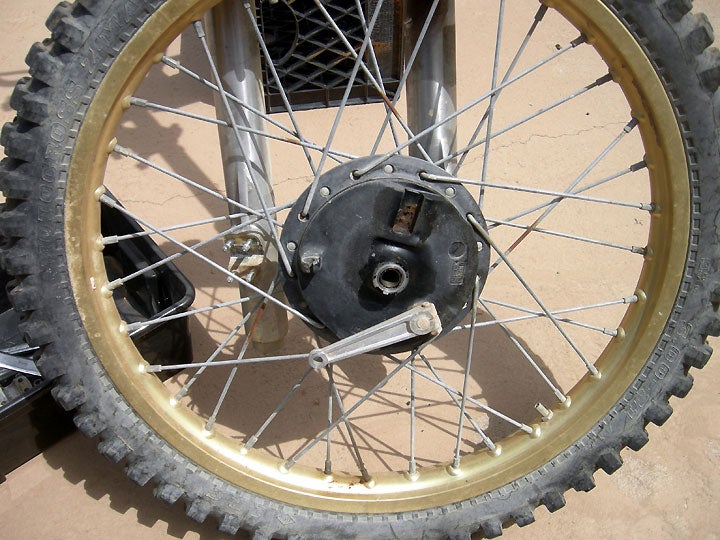
With the wheel removed, take the brake backing plate from the hub. Now’s the time to check the brake shoes. If they are worn, you’ll have to replace them. If there is rust or crud on the shoes, take a piece of sandpaper to the surface of the shoes until they are nice and smooth again.
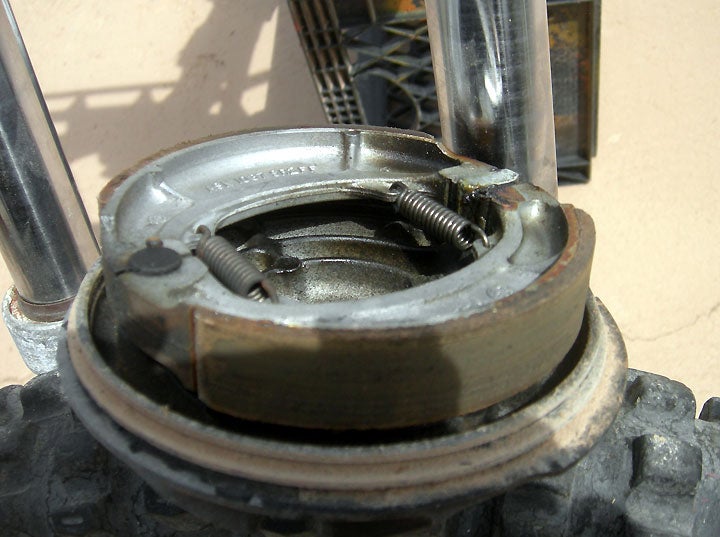
While you’re at it, carefully inspect the hub and make sure that the braking surface is not all chewed up. If there’s any rust visible, now is the time to whip out that sandpaper again and get everything cleaned up.
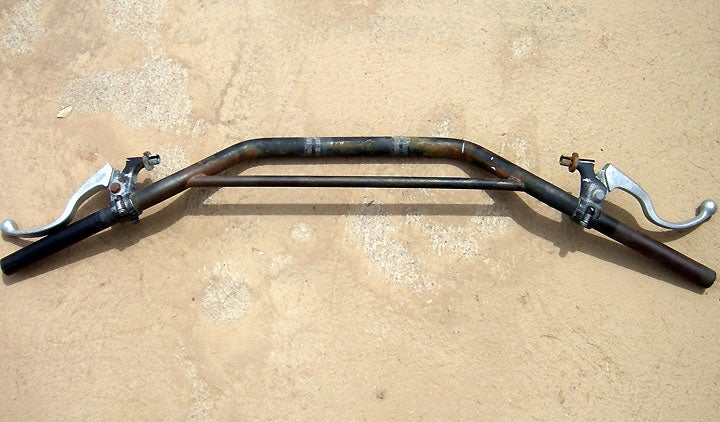
Loosen the four bolts holding the bar clamps in place, then remove the bars.
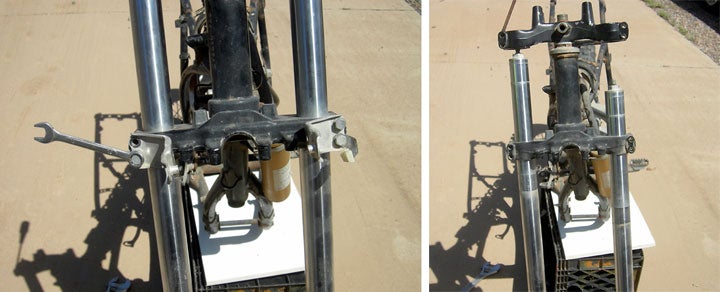
Remove the bolts holding the triple clamps in place and then slide the forks down and out.
After removing all the fasteners, the shock can be removed. Do not try to remove the shock forward. Through the rear section of the frame is the only way to go.
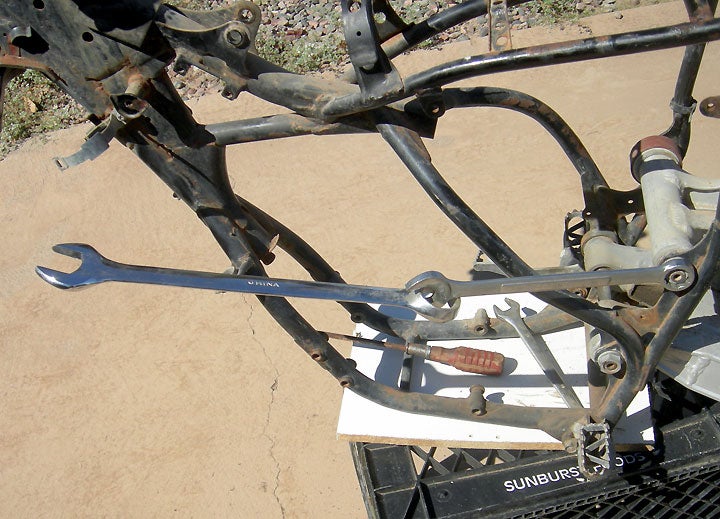
When you try to take the bolts off of the linkage, chances are you going to run some real rusty and stubborn fasteners. Here’s a little trick that will help you get these things loose. Put another wrench, on the end of the one attached to the nut, and you can double the force.
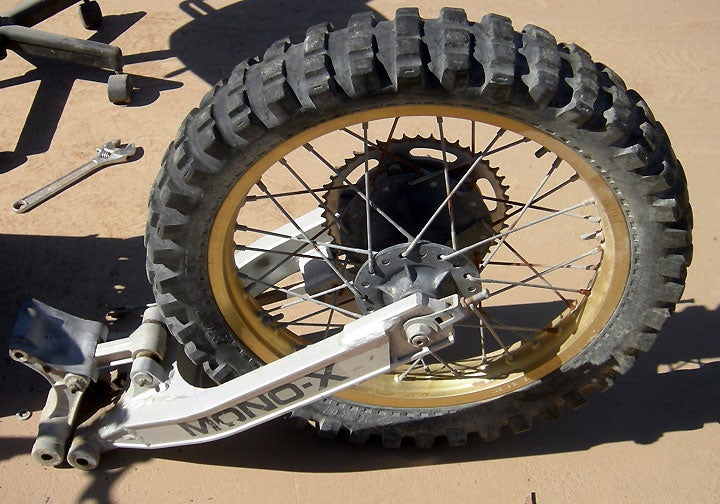
With all the fasteners removed, the entire swingarm, linkage and rear wheel can be removed in one piece.
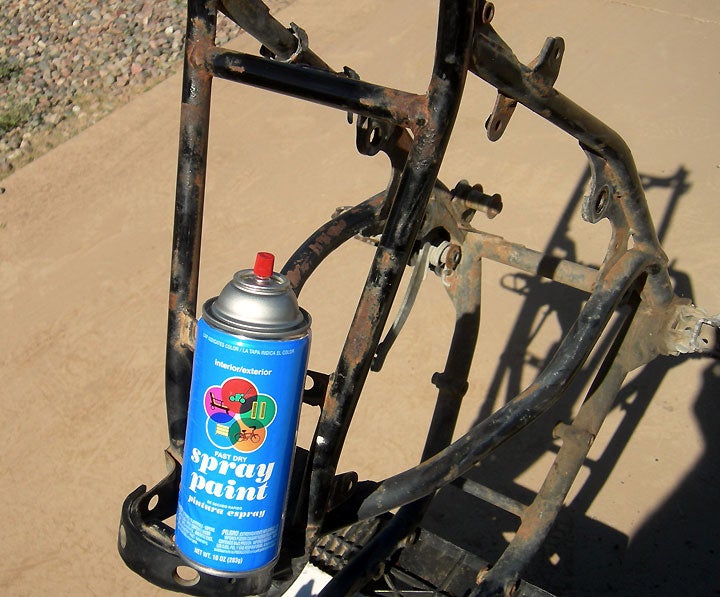
Now you’re down to the bare frame and ready to prep the service for paint. Stay tuned for that and we’ll show you some shortcuts.
We’ll be back next month for Part 4 of Project Lowbucks, where our project YZ125 will continue its resurrection from the grave.
 Your Privacy Choices