Project Lowbucks: 1982 Yamaha YZ125, Part 6

As Rick “Super Hunky” Sieman delves further into the Project Lowbucks 1982 Yamaha YZ125, this installment comes with a warning.

Here's where we start putting things back together. PHOTOS BY RICK SIEMAN.
Here’s where we start putting things back together. PHOTOS BY RICK SIEMAN.

This part of the Project Lowbucks series should be a warning to you. And we should have known better when we first got the bike.

Normally, we get a project bike for any of the low bucks series, we try to make sure that most of the parts we’re going to need are there or are readily available. While we did that with our Yamaha YZ125, we failed to pay attention to something that drove us nuts later on. That is, a whole bunch of parts had been hammered on by the previous owner trying to get them on or off. Consequently, a simple thing like getting the triple clamps back on the bike turned out to be a flaming nightmare.

The badly rusted steering stem received a lot of time on the wire wheel.

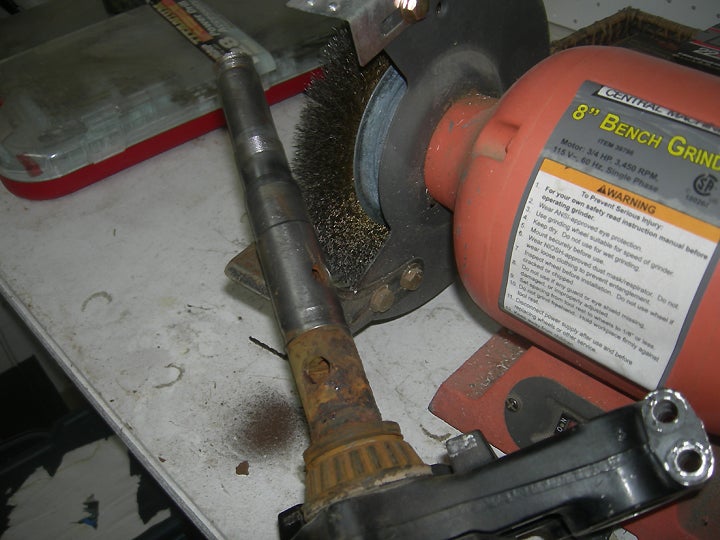
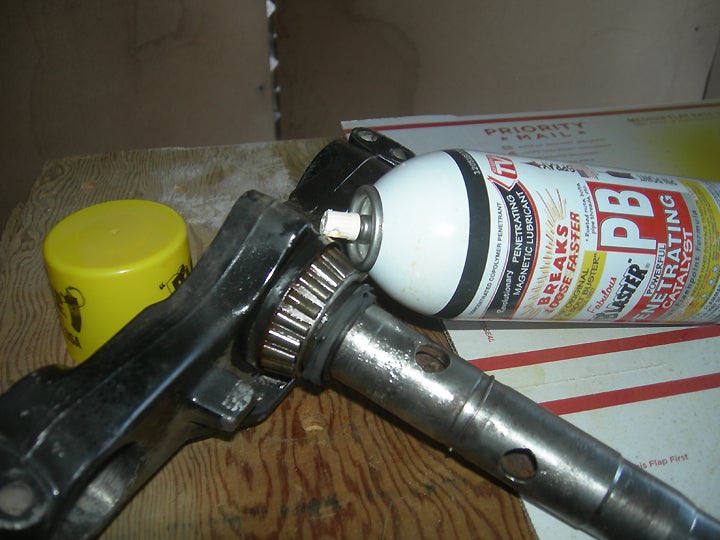
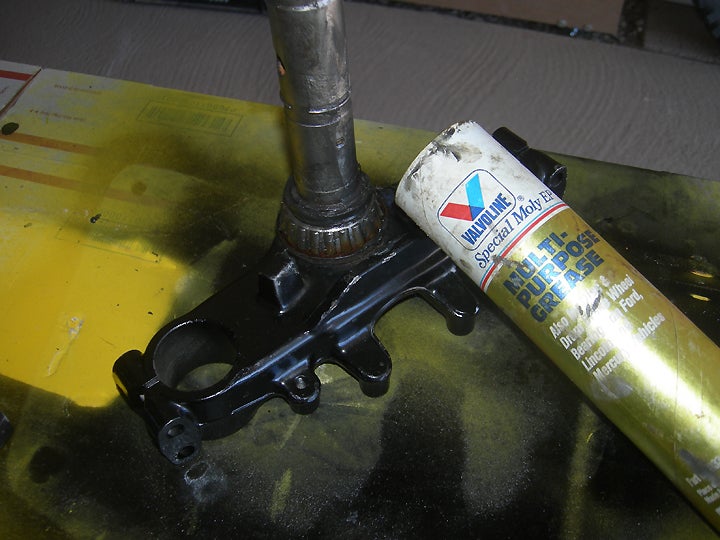
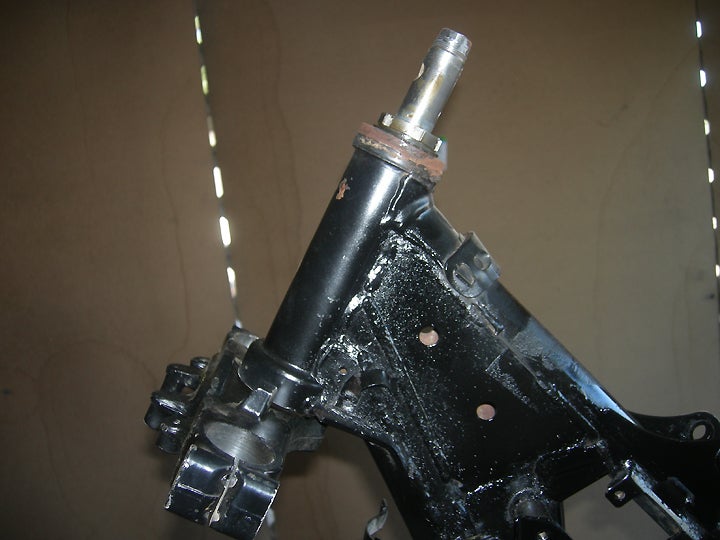
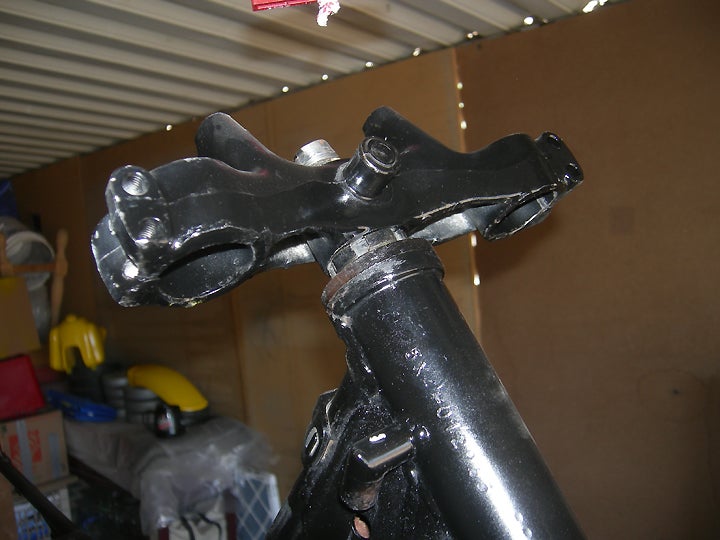
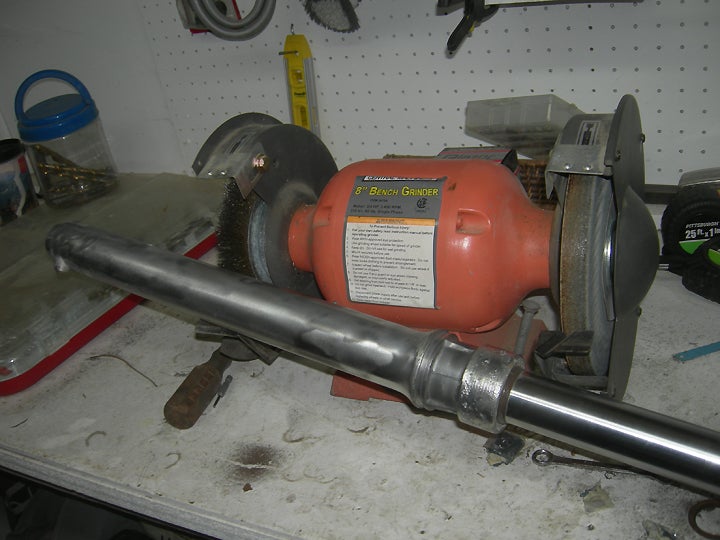
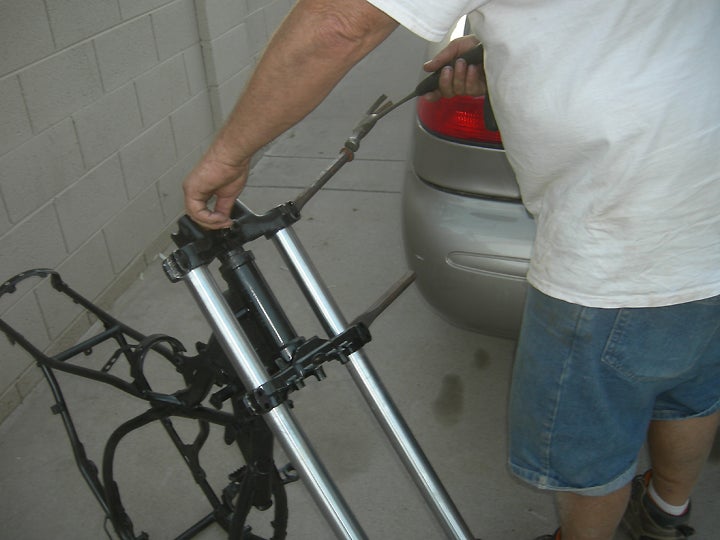
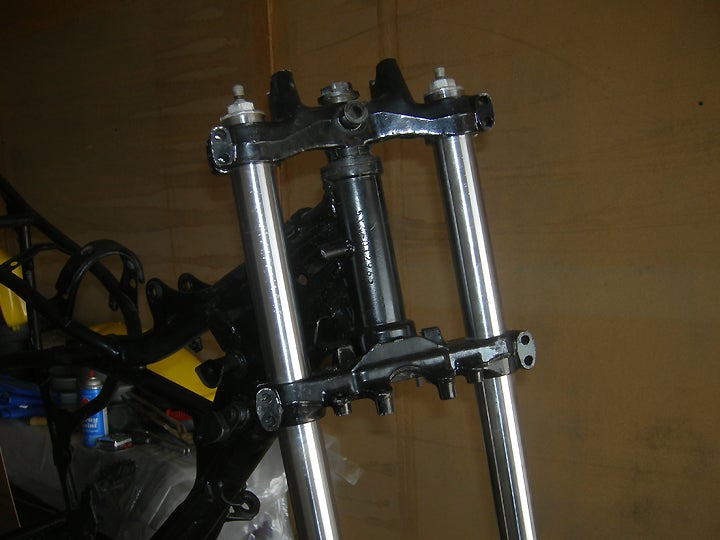
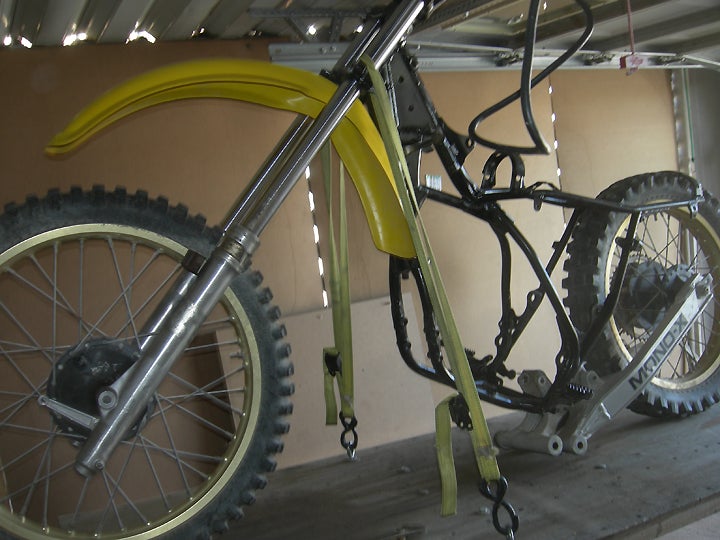
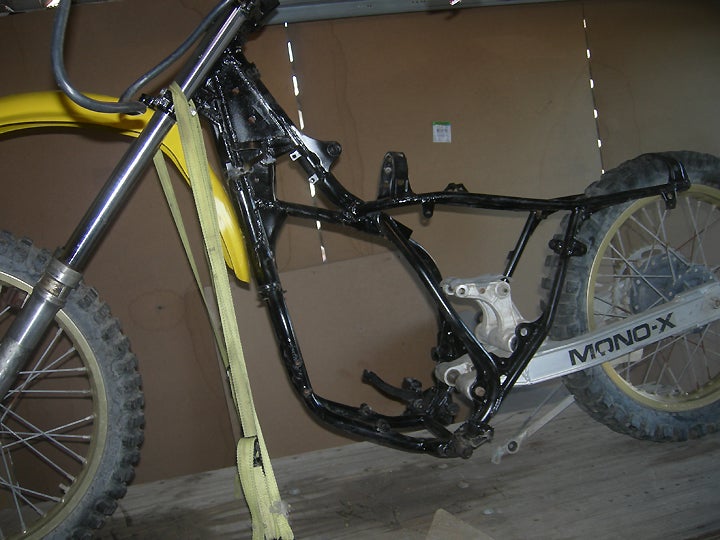
We had to take the forks and triple clamps off the bike in order to paint the frame and to free up the steering stem, as it was rusted solid inside the steering head. We didn’t realize that the previous owner had taken a hammer to them like a madman. After we got rid of all the rust on the stem and steering head, we tried to put everything back to stock. Lots of luck. We couldn’t get the fork tubes through the triple clamps. We then tried to tap some screwdrivers into the gaps in the clamps. Nope. Still couldn’t get it done.

A quality spray lube cleaned the bearings out properly.

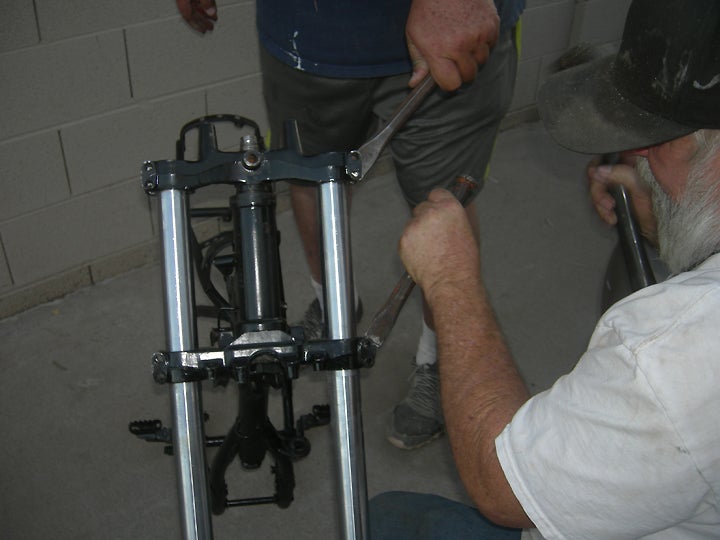
So we took a trip down to my buddy Wes’s shop. It took Wes, me, a shop helper, some serious chisels and a heavy hammer to get the job done. Yep, six hands and a half hour of swearing to get the clamps done right. So let this be a warning to you if you start a project bike.

Both roller bearing were thoroughly coated with wheel bearing grease.
The stem was put in the cleaned steering head and checked for the bearing working smoothly.
Top triple clamp was then installed after top bearing was greased.
The fork legs got some time on the wire wheel to remove crud.
It was necessary to use a pair of stout chisels to spread the triple clamps far enough apart to get the fork legs installed.
Actually it took two sets of hands to get the job done.
The fork tubes are installed.
Before the front wheel got installed, sandpaper took a bit of rust off the lining.
The front wheel is installed.
The front axle has to be screwed in place and then the locking plate has to be bolted home.
The front fender is bolted in place.
With the bike tied firmly down to a stand, we were ready to install the rear end.
The pivot bolt is tapped home.

Comments