Project Lowbucks: 1982 Yamaha YZ125, Part 8

Before putting time in the saddle, we had to put some time into the saddle on our Project Lowbucks Yamaha.

Like most of our past Project Lowbucks machines, the saddle cover on our 1982 Yamaha YZ125 was wasted. The thin layer of cowhide is one of the first things to deteriorate on an old bike, especially when it is left unprotected by the elements.

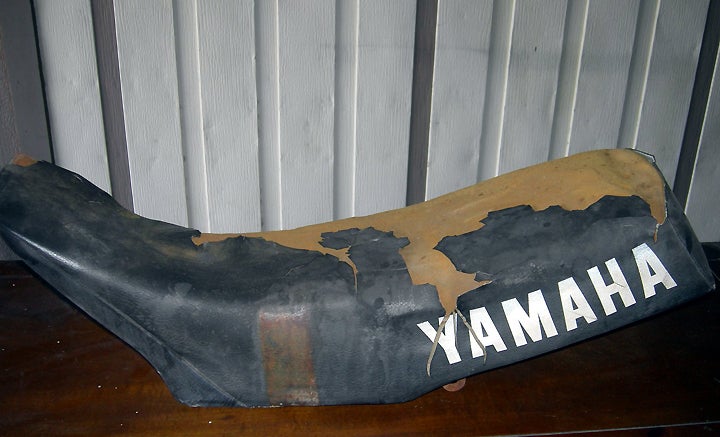
Doing the saddle cover was more than just a small thing on our Project Lowbucks Yamaha YZ.

Most saddle covers on our various project bikes have been beyond saving, and the cover on our 1982 Yamaha was no different. This meant that we had to get a new saddle cover, remove the old one, and install everything properly. We were able to find saddle covers for the 1978 YZ125 with prices ranging from $20 to $75. Naturally, we went for one with the lowest cost, 20 bucks including shipping.

The good news was that while the seat cover was trashed, the foam underneath it was still in very good shape and could be reused.

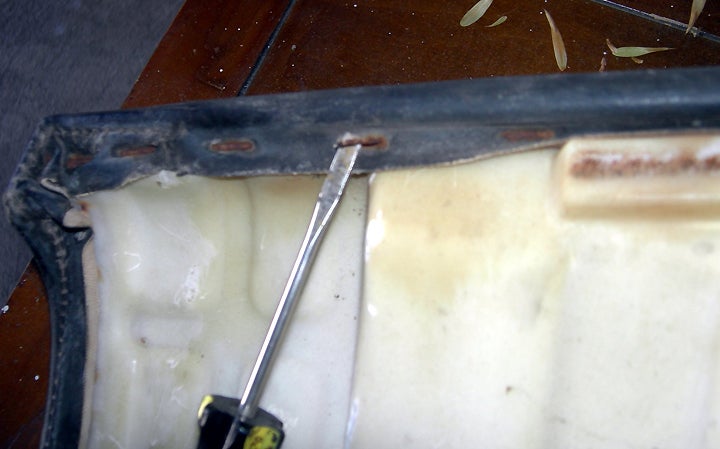
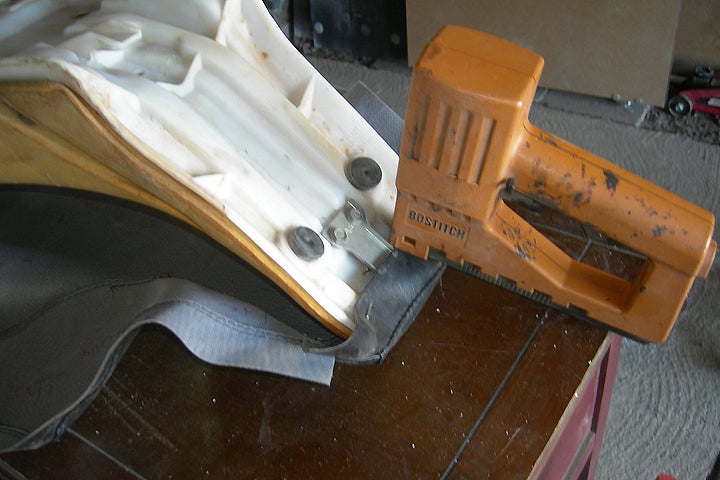
As with most covers, ours was held in place by staples, and getting the staples free is not the easiest thing in the world. We finally settled on using a very thin flat bladed screwdriver to get everything loose. Most of the staples were rusted, so we were a bit amazed that we were able to get them out of the seat base. We found that removing them was easiest when we would get a section of the saddle loose and then cut it with a razor blade. Once the section was done, we’d go to another one. It took us over an hour to get all the staples out of the saddle cover and get the cover loose.

Rusty staples are no fun to try and remove, but we took our time and were surprised that we were able to get 'em all out.
Rusty staples are no fun to try and remove, but we took our time and were surprised that we were able to get ’em all out.

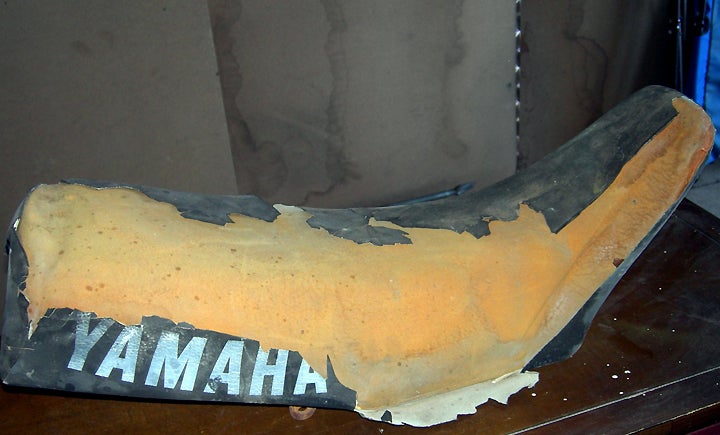
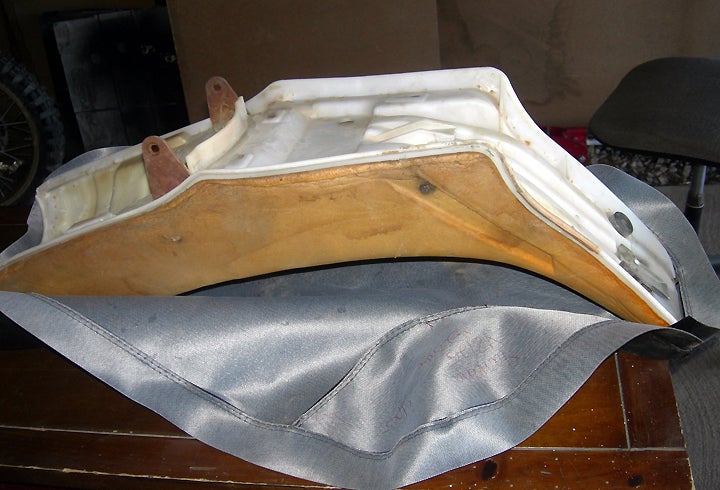
With the cover completely off the saddle, we made sure that the foam underneath was in pretty good shape. At this point we took the new cover and put it in place over the existing foam. The best way to do it is with the foam upside down to ensure that the foam lines up properly with the cover. Initially, it’s most important to get the foam lined up from front to rear, rather than from side to side.

Laying the seat on its back with the new cover underneath only makes sense when trying to put the new cover in place, but care must be taken to make sure that the cover aligns from front to back and side to side. We checked and re-checked alignment during the stapling process.

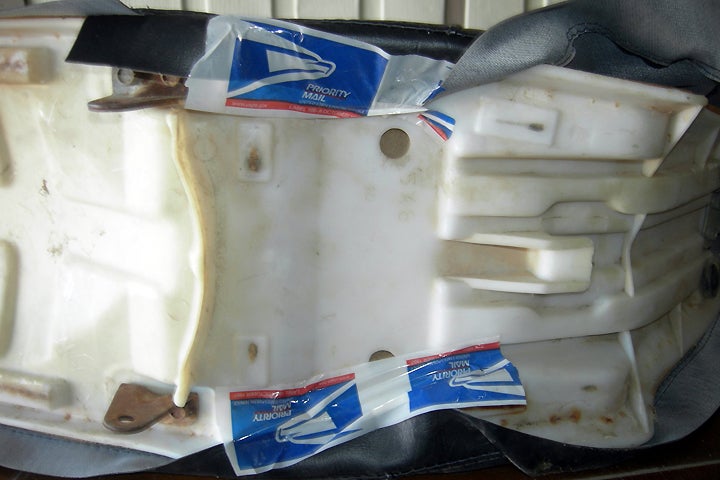
Once we got the cover lined up on the foam, we popped a few staples in the forward edge and the rear edge, and then we checked from side to side to make sure that everything still fit properly. We used some tape from side to side to get everything lined up. When taping the saddle, just about any tape will do.

We started at the front of the saddle when it came time to staple the new cover in place. You'll want to add staples in the front and rear of the saddle first before stapling down the sides.
We started at the front of the saddle when it came time to staple the new cover in place. You’ll want to add staples in the front and rear of the saddle first before stapling down the sides.

Once we got everything lined up from side to side we popped a few staples in place. The foam was then turned over, and we once again checked to make sure that everything lined up. With everything in alignment, we started very carefully going from side to side with the staples. Eventually, we got all the staples all the way around and pretty much got the cover in place. At this point, it’s important to note that you’ll find high spots and low spots on the cover when you are done, but they will go away once some time is put on the cover.

Taping the sides of the saddle helped to keep the cover aligned during the process. Any tape will work. As you can see, the United States Postal Service is still good for something.

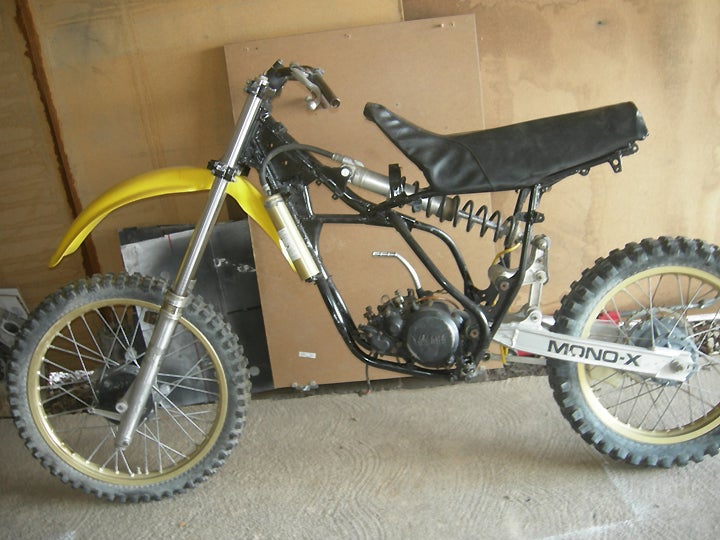
Once the cover was done, we bolted the saddle onto the frame. It was looking good!

Once the saddle was back on the bike, it looked pretty good. Note the ripples in the cover. These will smooth out once we put some time on the machine.

Comments